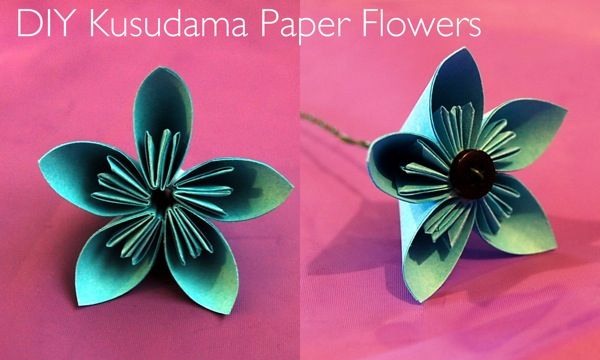
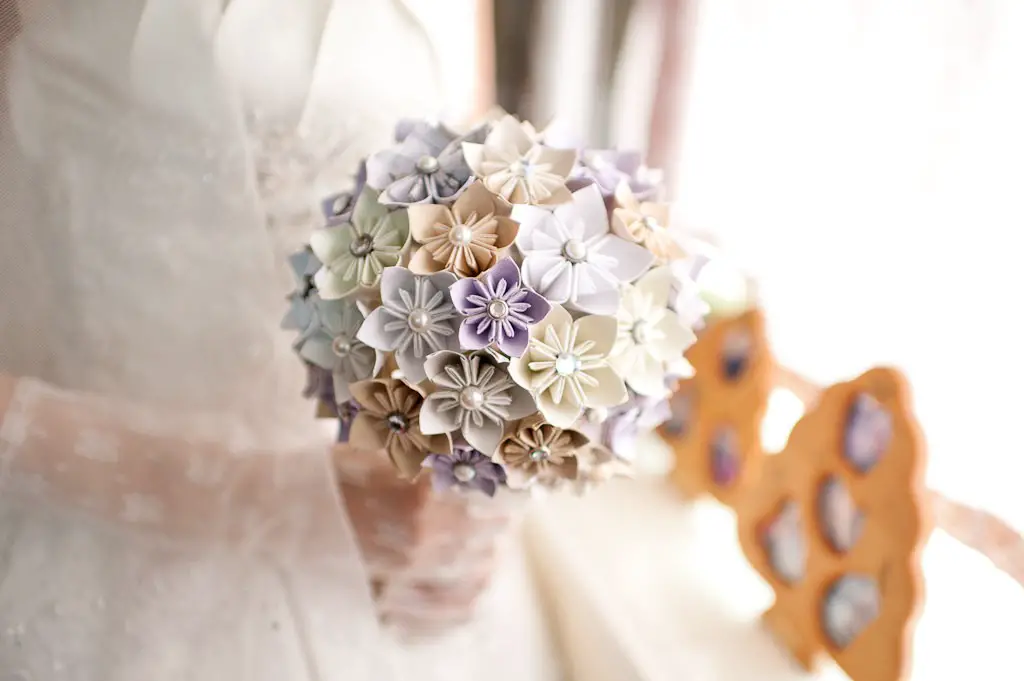
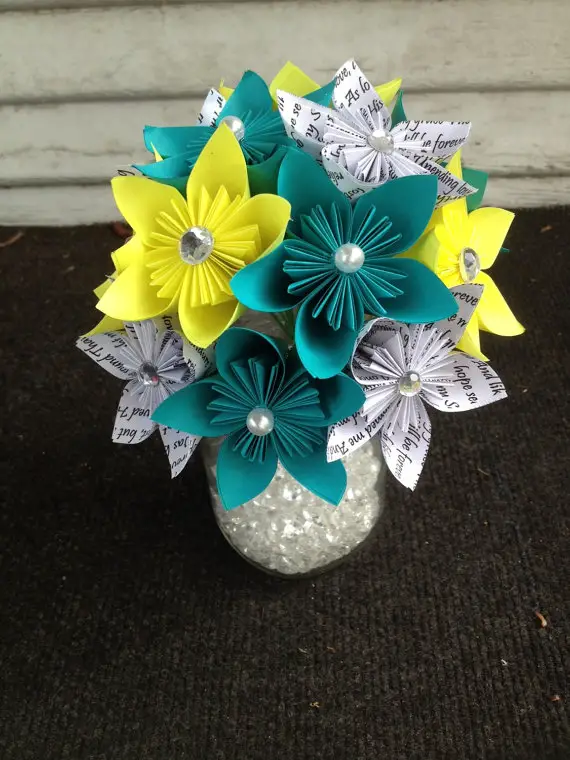
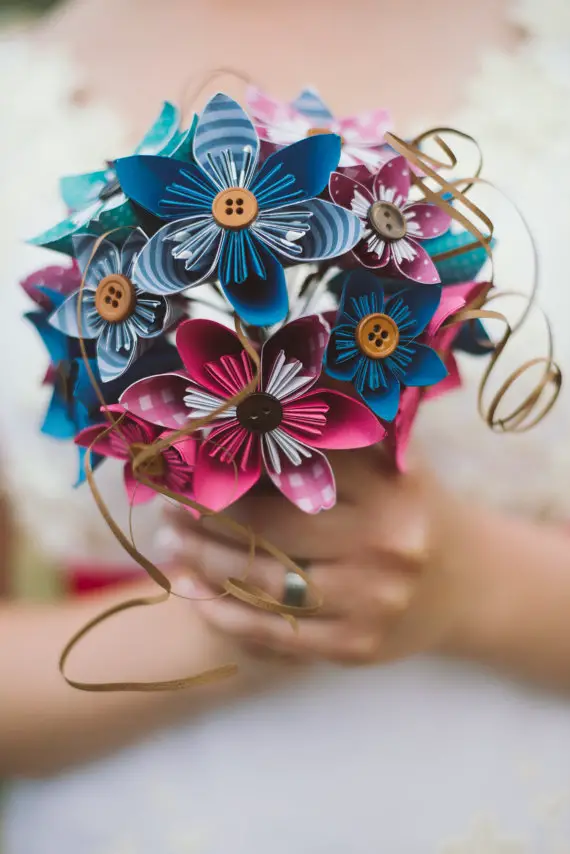
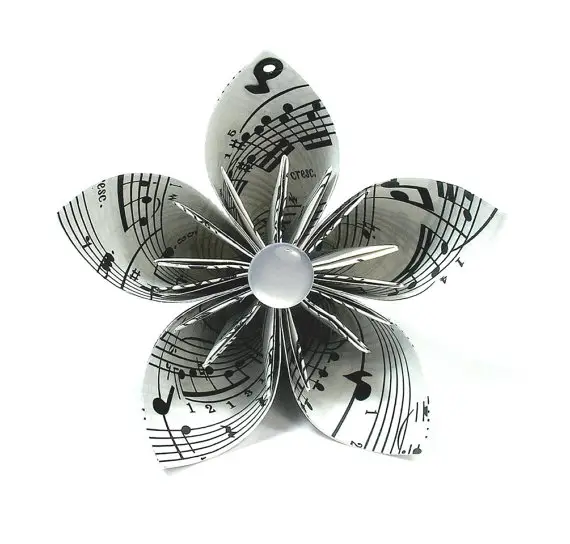
Origami paper flowers can be complicated and time consuming but the end result is amazing. I loved my paper wedding flowers! Hopefully this tutorial and the upcoming one on how to assemble kusudama bouquets helps you create your own amazing origami paper flower bouquet.
Kusudama Flowers Tutorial
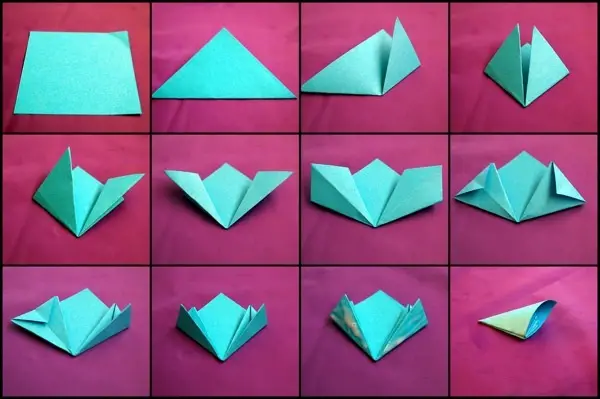
If you’re short on time or hate to read, here are the steps via photos to create a petal for the kusudama flower.
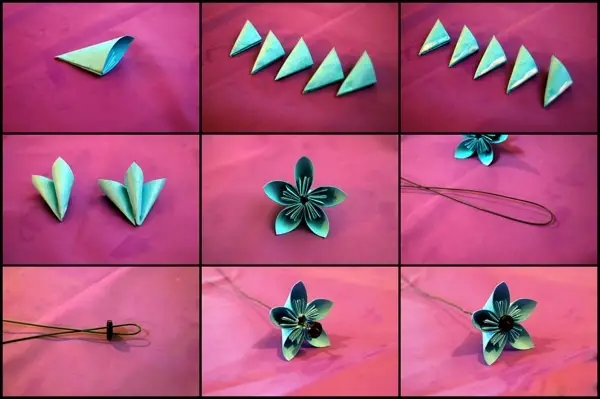
And here are the steps to take the petals and turn it into a flower.
Below is the process step by step.
Notes About Paper:
You can use any size paper you want for these flowers.
I have cut my own paper so I can have the colors I want but this adds a ton of time to the process. You can use origami paper like the following (details at end of post)
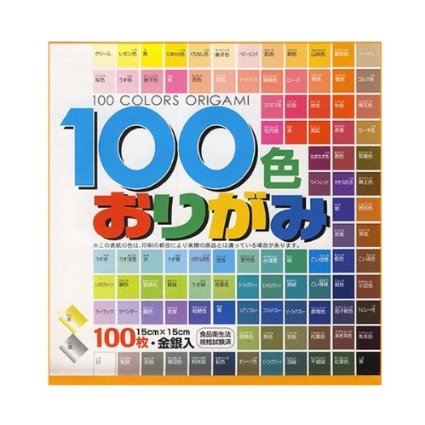
- Origami Paper 100 Color Pack
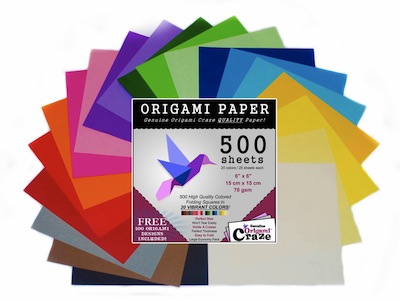
- Origami Paper Special – 500 Sheet Economy Pack
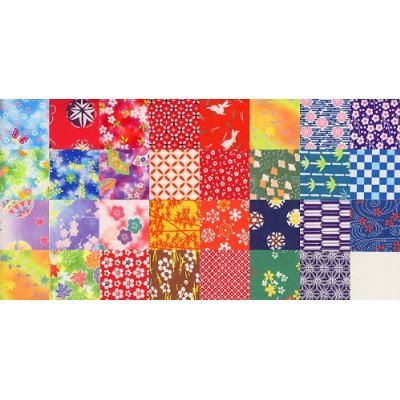
- Washi Origami – 360 Sheet Assortment
The only requirement is that the paper is square. I find the 3 inch squares and larger to be the best for creating a bouquet as it takes fewer flowers and makes a bigger impact.
A mix of colors and textures and buttons make the best bouquets, but for a single flower, any combination works!
Step 1: Fold paper in half.
Step 2: Fold up the corner to meet the middle.
Step 3: Fold up the other corner to the middle.
Step 4: Fold the flaps in half toward the outside.
Step 5: Flatten the flaps.
Step 6: Fold the top back over toward the inside.
Step 7: Fold the flaps in half toward the middle.
Step 8: Glue the outside edges of the flaps.
I use plain white craft/school glue for the petals but I’m sure other kinds would work. As long as you let the paper petals dry it holds up rather well.
The trick here is to get the right amount of glue. Too much and it oozes out the sides, not enough and it won’t hold. I find thin lines on both sides works well.
Step 9: Hold the edges together to close the petal.
Hold the petal for a while after you glue it to make sure it holds, then you can leave it to fully dry. You need to make at least 5 petals before making a flower. If you plan on making multiple flowers I recommend creating all your petals at once so you can later assemble them.
Step 10: Gather 5 petals together.
Five petals make the best kusudama flowers. You can use six but it will make more petal creating work for you!
Step 11: Glue the outside of one edge on each petal.
Place a thin line of glue on the edge of each petal. Again, not too much glue or you will have a dripping mess.
Step 12: Glue the petals together, hold, and let dry.
The best process I’ve found for putting the petals together is to glue sets of two together and then let them dry a few seconds. Then glue the extra single petals onto a set of two and let it sit for a few seconds. Then put them together.
You will want to let the flowers sit for at least a few minutes after putting the flower together. Don’t worry if it’s not perfect or a bit crooked since it will blend fine in a bouquet.
Step 13: Fold wire floral stem in half and feed a button through.
You can buy green (or silver or another color) floral wire at a craft store in packs of 100. Take one piece and fold it in half to create the stem of your flower. Feed the two ends through the openings in a button.
Step 14: Twist the floral wire together to make a single stem.
Pull the button all the way through to the end of the folded wire. From the button twist the ends of the wire over each other to create a single stem.
Step 15: Glue the top of the whole of the flower.
Put a small layer of glue around the opening of the flower where the button will rest. To do this another way you can put the layer of glue on the bottom of the button.
Step 16: Pull the stem and button through and hold until dry.
Pull the button and stem through until the button is resting on the paper. Let the glue dry but holding the flower and button in place for a few seconds and then you can leave the flowers resting to fully dry.
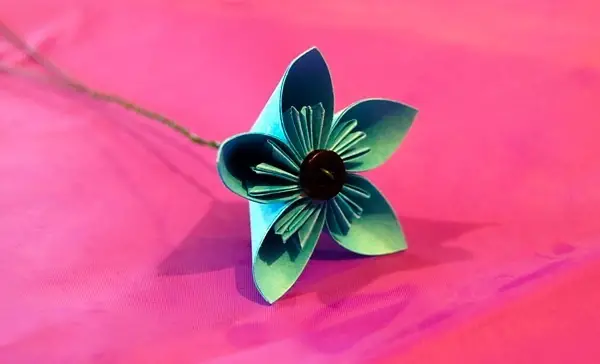
Step 17: Enjoy your kusudama flowers!
Hopefully this helped and you are on your way to creating your own flower or multiple flowers.
Make Your Own Kusudama Paper Flowers
If you plan to use this tutorial to make kusudama paper flowers, we recommend getting some origami paper to speed things up.
Recommended origami paper for making kusudama paper flowers:
- 100 individual solid colors of origami paper in one pack
- Each sheet measures 5 7/8″ square
Origami Paper Special – 500 Sheet Economy Pack
- 20 Vivid and Vibrant Colors – Same Color Both Sides
- Holds a Crease – Won’t Curl at Edges
- Most Popular Size – Folds Easily – Won’t Tear
- 6 inch square sheets
Washi Origami – 360 Sheet Assortment
- One sided
- 3 inch square sheets
Enjoy making your own kusudama paper flowers!
Kusudama Paper Flowers
Want some of these awesome kusudama paper flowers without all the work of making them? Several Etsy sellers offer them in their shops! We’ve listed a few examples below:
Via: Paws Designs on Etsy
Via: My Woolly Mammoth on Etsy
